This part of the system documentation deals with installing and implementing the PCBx3 Manager Application.
It makes frequent references to other parts of the full PCBx3 Manager documentation.
The sections covered in this part of the documentation are shown on the left.
The system installation requires first downloading and installing the sample application, followed by the installation of the Ghostscript utility for PDF printing.
The default installation automatically places the PCBx3 Manager Application (client) into the following folder:
32-bit computers - C:\Program Files\ BlakeDev
64-bit computers - C:\Program Files (x86)\ BlakeDev
The sample application is typically installed in: C:\PCBx3Manager
The Ghostscript (utility) is typically installed in: C:\Program Files\Ghostscript
Once the network is configured, the PCBx3 Manager Application (client) allows connecting to the sample application (server) or the database that was setup on the network.
The network installation includes setting up folder structures for one or more entities and a common folder for the database, system files and logs.
There are two main folders for each entity. A folder for sites and jobs and a folder for data unrelated to jobs.
PCBx3 Manager will automatically create new folders when required below the two main folders.
The common folder for the database includes the system folder that contains the following key files:
- PCBx3 Upgrade Manager
- PCBx3 TimeSave Interface
- PCBx3 Manager License and Setup files
- Typical database location on network: R:\Database
The sample application is a fully functioning 90 days trial application that can be utilised for testing and training purposes.
- The User Login Name is: Bob
- The User Password is: bob
- Typical database location on workstation: C:\PCBx3Manager\PCBx3AppServer\Database
To connect to a different database simply follow the below steps.
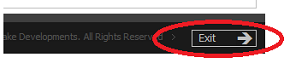
If you are logged in PCBx3 Manager, press the Exit button on the main menu bottom right-hand side. |
|
On the confirm Shut Down dialog box, select to show the Login Screen again and then press the OK button. |

|
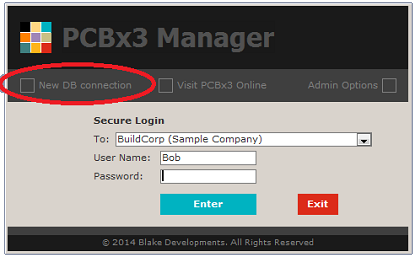
On the Login Screen, click on the top left-hand option “New DB connection”. |
|
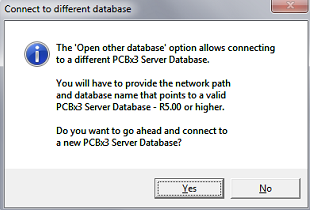
On the confirmation to go-ahead dialog box click Yes. |
|
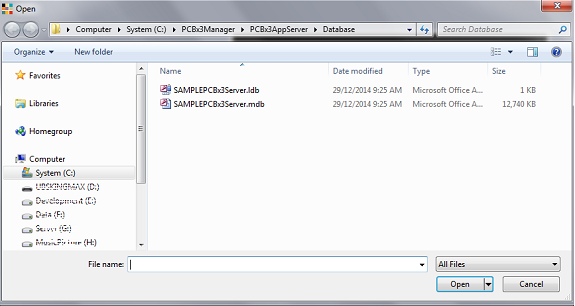
The file open dialog box is shown, point to the correct database and then click on Open.
Note
If someone is logged in then two files are shown.
Always select the larger file with the .mdb extension.
The -.ldb file is not the database! |
|
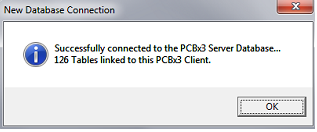
Click OK on the successfully connected to New Database dialog box and then enter your user name and password on the Login Screen. |
|
Each window – or form/screen – includes all required menu options that can be clicked with the mouse. Some buttons change colour when moving over with the mouse and others have a simple arrow or obvious colouring.
When performing data-entry, use the tab key to efficiently move from one field to the next.
To increment or decrease date and time values simply use the plus or minus keys. Tab into the field to highlight the contents and then press the plus or minus keys.
To enter date values simply enter six digits only. To enter the date 5 Jan 2013 simply enter the keys 050113 (ddmmyy).
To enter time values simply enter four digits only. To enter the time 8:30 AM simply enter the keys 0830 (hhmm).
For all currency values the decimals are entered automatically. To enter $30.00, simply enter 30.
To access special short-cut menus, select a record in a list and then right-click the mouse.
Special short-cut menus are available on the main list of the following registers:
- Client Register
- Site Register
- Quote Register
The implementation of the PCBx3 Manager Application is typically a one-off exercise that requires access to entity specific documentation that needs setting up.
Once completed these configurations rarely change.
The implementation deals with system and entity configurations that are used throughout the application.
In a multi-entity environment, each entity must be configured separately.
Complete each section prior to going live and entering data!
The below implementation steps are divided into entity specific data and data that is shared across multiple entities.
Entity specific data & configurations – repeat for each entity that was setup
Each of the below links provides quick access to the subject in the relevant overall system documentation.
The topics are shown in a separate window.
System Lookup Values – values that are shared across entities
The system lookup values are stored in the library and they can be used by all entities.
The topics are shown in a separate window.
Initial Data Entry
Initial data entry includes creating all staff/personnel records (human resources) and the most frequently used vendors.
New client & site records are typically created when processing a new request.
For large datasets that must me migrated from legacy systems, a script can be written to import the data into PCBx3 Manager.
The topics are shown in a separate window.
User Acceptance Testing (UAT)
Usually the user acceptance testing is carried out by system users in a separate environment in order to flush out any configuration issues.
Basic UAT would entail verifying key details on all official reports that can be generated. This includes quote reports, sales invoices, adjustments notes, payment receipts and more.
Payroll and associated pay calculations per HR should also be included in the UAT.
Go Live
The system is now ready to go into production; ready to start with clients, requests, quotes and jobs and more.
We hope you will enjoy the PCBx3 Manager Application and thank you for visiting the online documentation.